
Step 1: Getting Started with FileZilla & Server Setup
To install self-hosted WordPress, you need a way to move the software files from your computer to your web hosting server. For this, we use an FTP client.
Introduction to FileZilla Client
FileZilla Client is a free, open-source FTP application used to transfer files securely between your local computer and a remote web server.
Connecting to Your Server via FileZilla
- Open FileZilla on your computer.
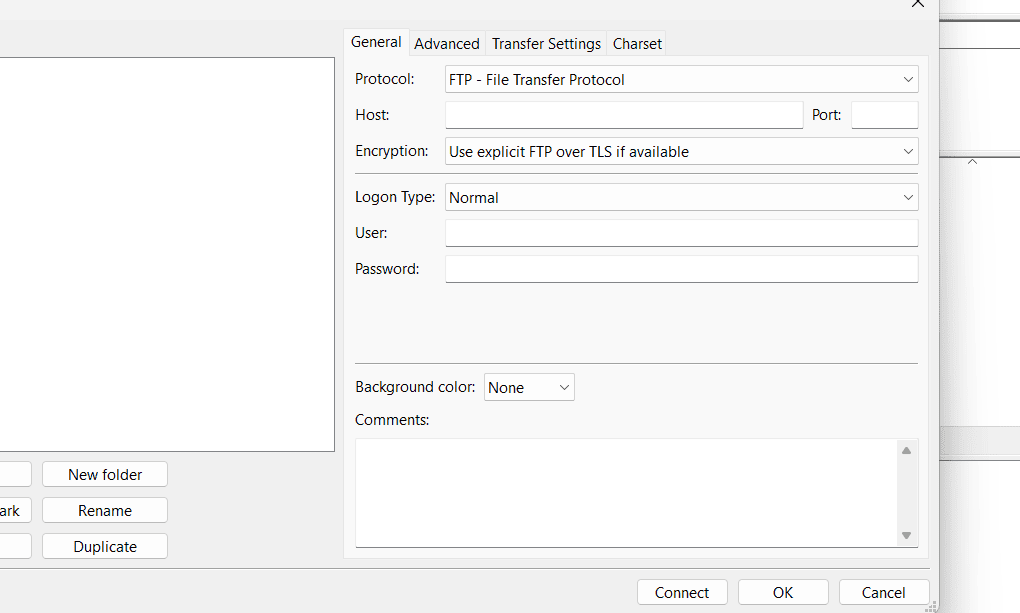
- Open the Site Manager via File > Site Manager (or press
Ctrl + S). - Click New Site and type a recognizable name for your connection.
- Enter your Host, Port, and Protocol (choose SFTP for enhanced security or FTP with explicit TLS), and set the Logon Type to Normal.
- Input your server Username and Password, then click Connect.
Step 2: Download and Upload Your WordPress Files
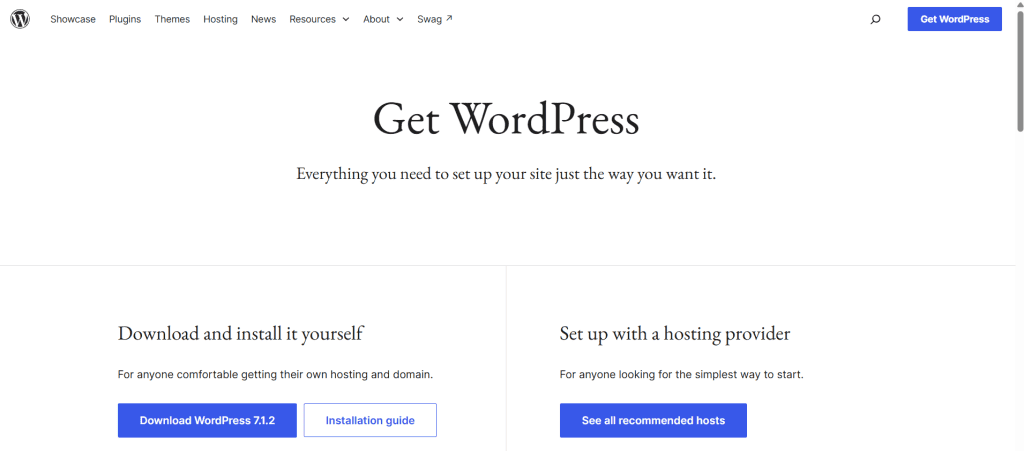
- Go to WordPress.org to download the latest ZIP package, then extract or unzip the folder on your local computer.
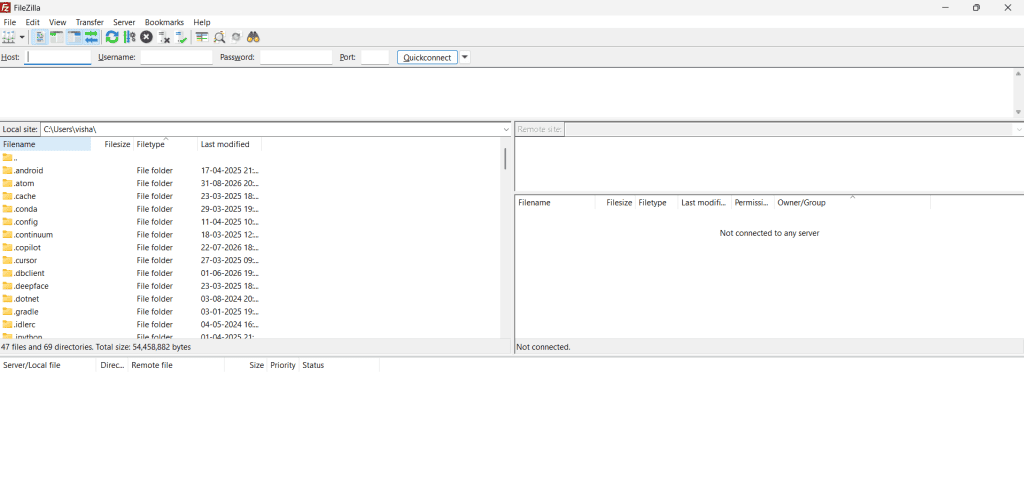
- Once connected via FileZilla, your workspace splits into two main panels:
- Left Panel: Your local computer directory.
- Right Panel: Your remote web server directory.
- On the Left Panel, browse to open the unzipped
wordpressfolder. You should see core files likewp-activate.php,wp-config-sample.php, and a folder namedwp-admin. - On the Right Panel, double-click to open your website’s root public directory (typically named
public_htmlorwww). Note: If a defaultindex.htmlfile exists inside from your host, delete it. - Select all files and folders on the left panel, right-click, and choose Upload.
- Wait for the transfer queue progress bar at the bottom to reach 100% (this may take a few minutes as thousands of individual files upload).
Step 3: Run the WordPress Installer
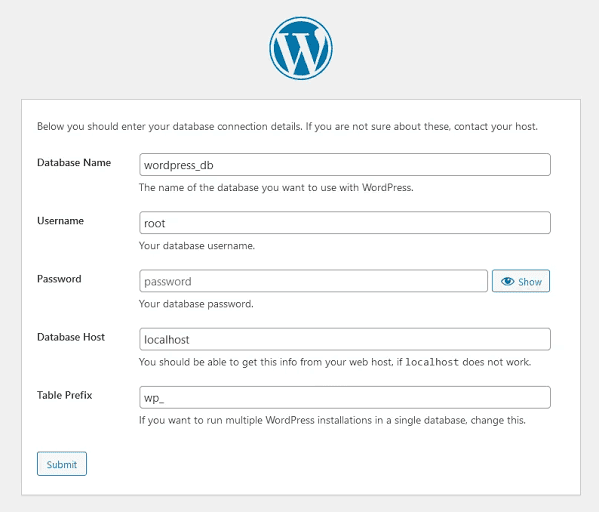
Once FileZilla confirms that all files have successfully transferred, your website is ready for final configuration:
- Open your web browser (e.g., Chrome, Safari, or Firefox).
- Type your domain name into the address bar (e.g.,
[https://yourdomain.com](https://yourdomain.com)). - The WordPress installation wizard will automatically launch on your screen.
- Click Let’s go! and enter the Database Name, Username, and Password you created inside your hosting control panel.
- Click Run the installation to complete the setup and create your administrative profile.
You can now access your WordPress admin dashboard at any time by navigating to [yourdomain.com/wp-admin](https://yourdomain.com/wp-admin).
Conclusion
Congratulations! You have successfully installed WordPress on your web server from scratch. From here, you can choose a clean theme, install essential plugins, and begin customizing your digital presence.
Leave a Reply